
Believe me when I tell you that it is EASY! I am not a seamstress by any stretch of the imagination. I can sew a straight line with a sewing machine, and that's about it. And that's all this scarf really takes! So without further ado, I am going to show you how to make this awesome scarf!!

So first of all I am going to tell you how I came upon this idea. I saw a tutorial for this idea on Pinterest several months ago. While I was at work, I was in the fabric area when we got a new shipment of this FANTASTIC jersey knit seasonal fabric. The colors reminded me of the house colors of Gryffindor and Hufflepuff in the Harry Potter books, and I NEEDED THEM SO BAD. I immediately bought a couple yards of the red/grey and a yard of the yellow/grey fabric and eagerly went home with beautiful dreams of hundreds of cute new scarves that were nerdy and adorable all at the same time. I remembered most of the steps to the scarf tutorial I had read months ago, and so I immediately went to work. I made two scarves out of the yellow/grey fabric before I realized I might want more step by step pictures for this blog post. So I made a scarf out of the red/grey to show you how I did it!
Step 1:
 I cut my fabric so it was about 20 inches wide. I had to borrow Katie's ruler to help me out because I don't own a longer ruler.
Step 2:
(Steps 2-5 are optional. I only did this to make the stripes in my scarf go the opposite way from how they were originally.)
I unfolded the fabric and turned it sideways along the table. Then I measured along both sides of the fabric and marked every 12 inches with my ruler and a sharpie.


 When that was done, I had five pieces of fabric just DYING to be made into a scarf!
Step 4: Now it's time to pin all the pieces together into one long strip. The goal at this point was to pin the pieces together in a way to make sure none of the thread would show on the outside of the fabric. So instead of trying to pinch the pieces together and pinning along, I decided it would be way easier to just lay the two pieces of fabric on top of each other, and then pin the edge together, like so:


When you unfold the fabric after pinning, it should look something like this:

And then continue pinning all the pieces together in a long strip.


 When that step is done, it looked like this:
Step 6:
 Fold the fabric in half like a hot dog. If the fabric you use has a print on one side, make sure you fold the fabric so the print is inside when you fold it at this point. Don't worry, you'll be turning the piece of fabric inside out when all is said and done! Once you fold your fabric, pin along the open side and prepare for more sewing!

 Step 7:When you're all done sewing up the side, you should have a long tube of fabric. Almost like a shirt sleeve that's wayy too long for your arm. At this point, you will want to pull the fabric inside out, so all the seams are on the inside. Mine looked like this at this point:
Step 8: Here comes the tough part.
 This part is the most difficult to describe. You're going to take both ends of your fabric tube and pinch them together. Then, you'll put the pinched piece of fabric under the sewing needle, like so. Then, VERY, VERY CAREFULLY, start to sew along the edge with the machine. As you go, make sure you're sewing both pieces of fabric together. Remember the sewing in part 5? You're basically doing that again, but inside a tube. The point is to make another invisible seam so the whole thing is one long circle, without any edges showing.
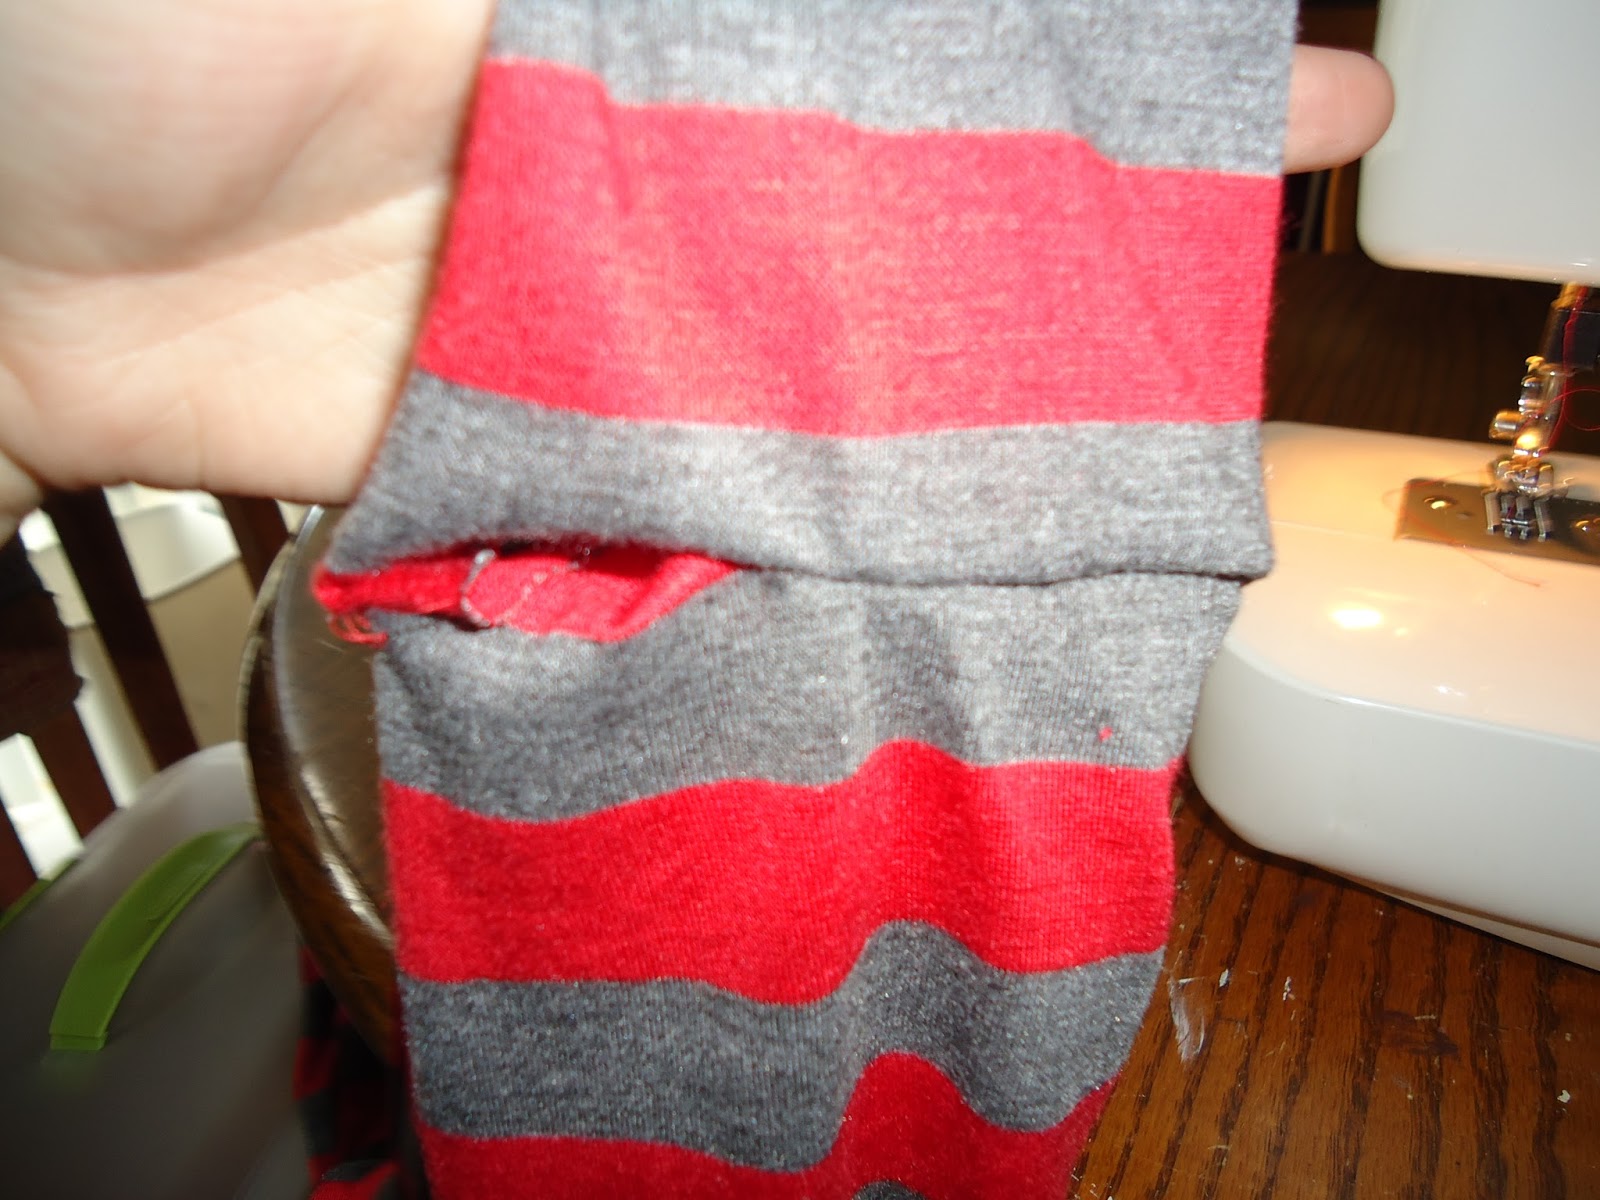
You're going to get to a point when you're sewing with the machine that it's no longer possible to sew the whole thing together. At this point, take the tube out of the machine. Your scarf is almost done, it just needs you to hand sew in an invisible seam to finish it all up. (If you're not aware, an invisible seam is pretty simple. Here's a LINK to a tutorial to help you out.) Mine looked like this when I took it off the machine:
 And here's what my invisible stitch looked like when I was done! It's not perfect, but I am really proud of it anyways.
And....It's DONE!

Hooray for new scarves! I am so excited to wear this scarf to school. In fact, I just had to try it on after finishing it up!
 |
| Me with the red/grey scarf. I doubled it up to wear it. |
 |
| And here is a picture from my phone of me wearing one of my yellow/grey scarves. Love it! |
I hope you have as good of luck as I did with your own scarves. I know it seems like a lot of steps, but honestly, it's much easier than it looks. Don't be afraid to try it out for yourselves. You might find that you have a hidden talent for scarf making!
Have a Beautiful Day!!
No comments:
Post a Comment