Hello everyone! Welcome back!
For my first official craft project, I thought I would start out with one of my favorite and most useful creations: a jewelry hanger! So, here goes!
HOW TO MAKE A JEWELRY HOLDER FROM A PICTURE FRAME
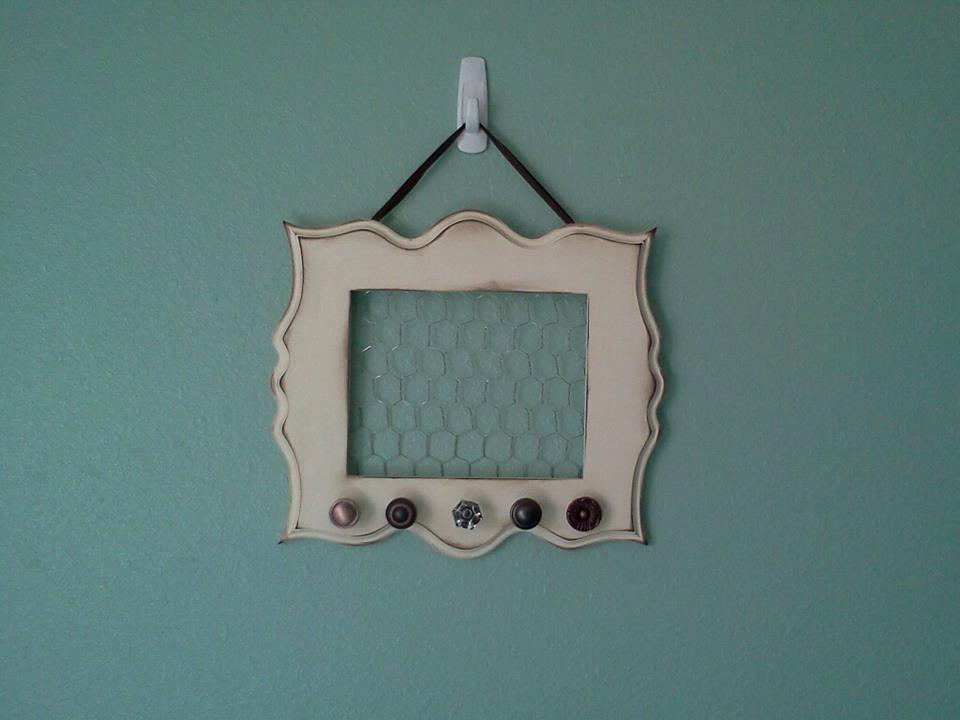
The first thing you'll need is a wooden picture frame. I got the one pictured above from a little store called The Wood Connection. I couldn't find the frames on their website, but here's a link for you guys anyways:
The Wood Connection. This frame opening is an 8x10 I believe, but since I'm not using it for pictures, I don't really know for sure. At the store, the frame obviously doesn't come with holes drilled into it. I had my dad drill them for me once I got home. They might be able to do it at the store, but they would probably charge you. The frame itself cost me $12.
The second thing you'll need is drawer knobs. I got mine from Lowe's, but they also have some really cute ones at Hobby Lobby. I was going for an eclectic look, so I mismatched the knobs but made sure they all had the same finish to them. (Except for the glass one, obviously.) In total, they cost me about $10. I could have saved some money on this step, but I was in a big rush to make this one.

Once we got home, I painted my frame an antique white. Here's a picture of the back:

On the front, I sanded down the edges and then took a small brown ink pad and "antiqued" the edges and used my finger to smudge it up a little. Here's another picture from the front. My mom held it up for me, but we didn't realize until later she held it upside down.

The next thing I did is cut out chicken wire (my mom had a roll of it for another project) to fit in my frame opening and used a heavy duty stapler to keep it in place. This was the trickiest step for me. Make sure you don't staple too close to the edge of the frame, or the wood might split. Here's what it looked like at this step, with a piece of paper behind it to make it easier to see (thanks for holding it right side up this time, mom!):

Here's a close-up of some of the staples in the back plus the next step: I used some upholstery nails to put picture hangers in the top corners.

Next, it's time to put the drawer knobs on the front! I played around for a while with the arrangement I wanted, but in the end, I was happiest with this:
After tying some ribbon around the picture hangers, it was time to put this baby on a wall!
And here it is! All ready to go!
I made this jewelry hanger last summer, and it's still in working order! I use the chicken wire to hang my dangle earrings on, plus my clip-in hair accessories. I use the knobs to hang up all my necklaces. The only problem is, I now have too many necklaces to fit on this hanger! I guess I'll have to add another jewelry organizer to my wall... :) Stay tuned for that project!